I LOVE all 3 of the current Creative Memories Black Friday Promo Bundles! They each are unique and feature some great exclusive items that will not be available to purchase otherwise. The promo is scheduled to end at noon CT on November 17th or while supplies last. I would order sooner than later as there is a good chance that the promo items will run out before the promo ends. With a $150 purchase, you can select one of the promo bundles for FREE! With a $300 purchase, you can select two bundles. And you can select three bundles with a $450 purchase.
Please view my YouTube Video for a look at the bundles and the layouts that I share below.
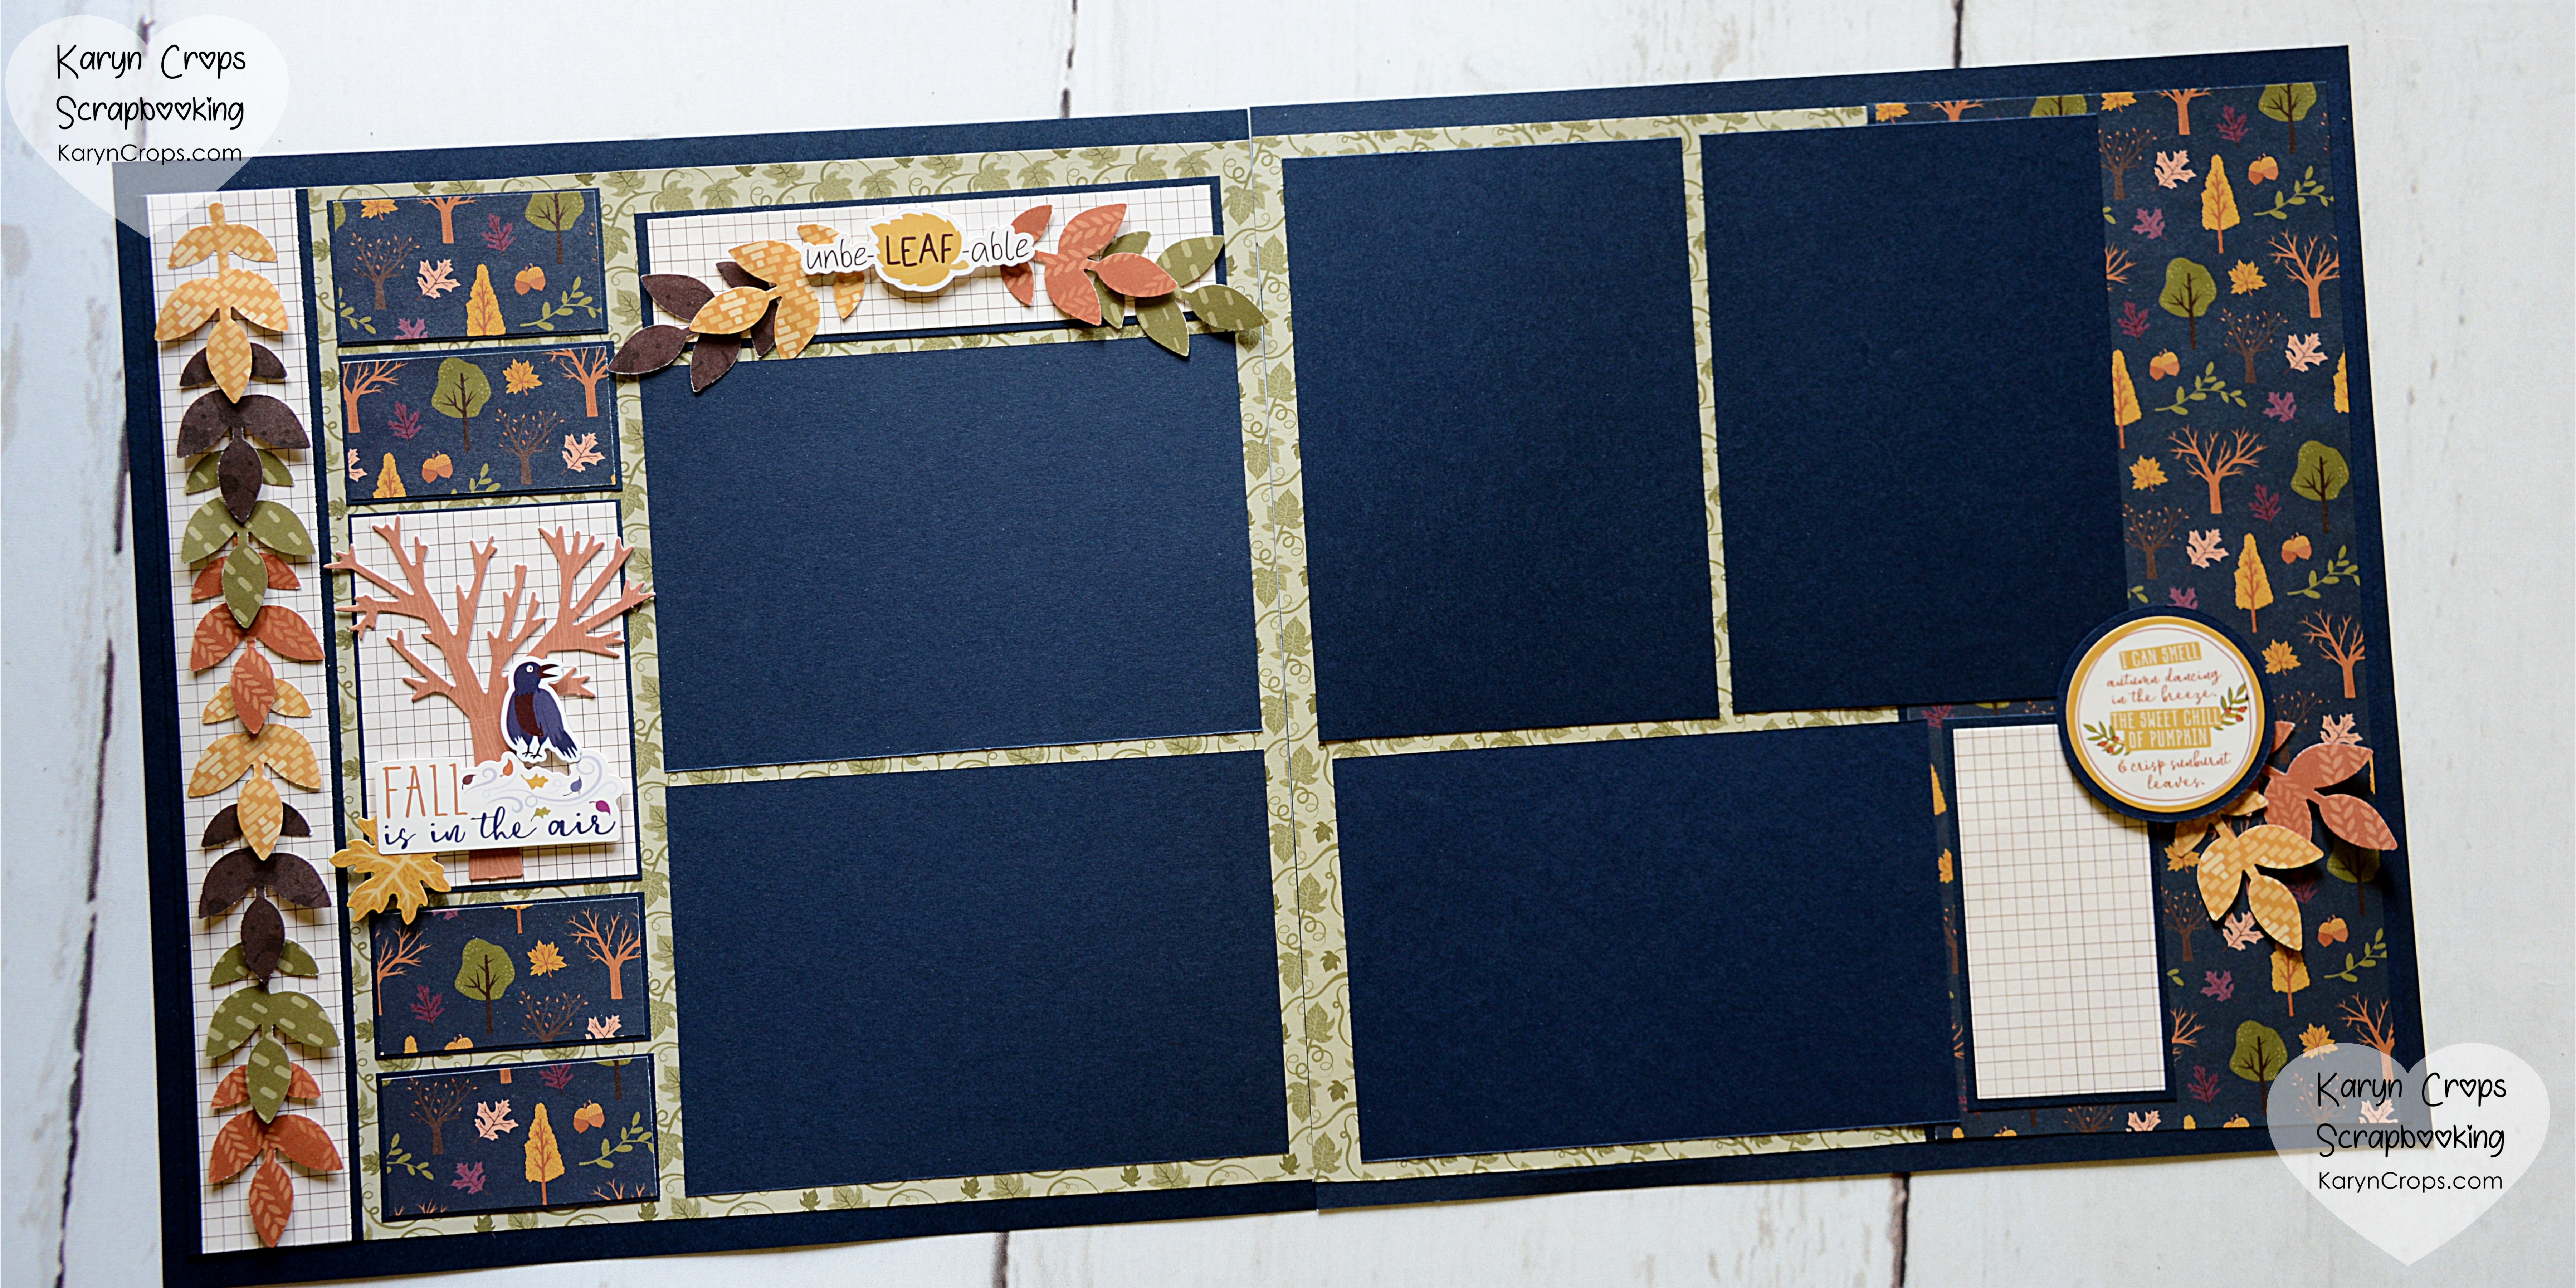
I do design work for Creative Memories, and I created the Black Friday layouts for the CM Blog. Below is the layout that I created with the Welcome Gnome Bundle. From the feedback that I’ve been seeing, this bundle has been the most popular so far. The Welcome Gnome Bundle includes the Welcome Gnome Border Punch, Welcome Gnome Paper, Welcome Gnome Stickers, Welcome Gnome Embellishments, and Welcome Gnome Card Kit and has a retail value of $63.

Please see the CM Blog for step-by-step instructions to create my layout above. I’ve also created a second similar version of the layout for myself. I used fewer Welcome Gnome Embellishments pieces on this layout in order to stretch out the embellishment pack in order to make more layouts.

To create my layout:
- Cut a 11″ x 2″ strip from Navy Cardstock. Use the 2-Way Corner Rounder to round the two upper corners. Cut a 10-3/4″ x 1-3/4″ strip from a lightly patterned paper. (I used paper from the old Joy to the World Paper Pack.) Use the 2-Way Corner Rounder to round the upper two corners, and adhere to the navy strip.
- Use the Welcome Gnome Border Punch to punch a border from Cranberry Cardstock. Trim to 11″, and adhere to the border.
- Use the Original Border Maker System with the Pointsettia Border Maker Cardtridge to punch a border from White Cardstock. Cut off of the cardstock at 1-1/2″, and adhere under the bottom edge of the border leaving the pointsettia flowers showing.
- Adhere a Welcome Gnome Sticker for the title using Foam Squares.
- Layer and adhere two gnomes using pieces from the Welcome Gnome Embellishments and Foam Squares.
- Cut a piece of Navy Cardstock to 11″ x 8-1/2″, and adhere to a sheet of patterned paper. I used paper from the recently sold-out Christmas Cheer Accessory Paper Pack.
- Cut a piece of tonal paper to 10-3/4″ x 8-1/4″, and adhere to the navy mat. I used paper from the old Joy to the World Paper Pack.
The Charming Village Bundle has also been a popular choice for the Black Friday Promotion. The Charming Village Bundle includes the Charming Village Border Punch, Charming Village Paper, Charming Village Stickers, Charming Village Embellishments, and Charming Village Card Kit and also has a $63 retail value. Again, I created the sample layout for Creative Memories. Please see the Creative Memories Blog for step-by-step instructions for the layout below.

I created a similar layout for my own scrapbook using fewer of the Charming Village Embellishments to again conserve the embellishments so that I can make many pages with them. I used paper from the Christmas Cheer Paper Pack as the Charming Village Bundle coordinates well with the Christmas Cheer Collection.

To create my layout:
- Cut a 12″ x 2-1/4″ strip from Gray Cardstock. Cut a 12″ x 2″ strip from White Cardstock, and adhere to the gray strip.
- Use the Charming Village Border Punch to punch a border from Cranberry Cardstock, and adhere to the border.
- Use the Custom Cutting System with the second largest Oval Pattern and Green Blade on the outside edge to cut an oval from Gray Cardstock. Use the Red Blade to cut an oval from designer paper. (I used Christmas Cheer.) Layer and adhere the two pieces together.
- Use the Charming Village Border Punch to punch two borders from White Cardstock and one border from Cranberry Cardstock.
- Use the Custom Cutting System with the second largest Oval Pattern and Red Blade on the outside edge to cut oval shapes from the three border pieces. Center and align the Oval Pattern over the border pieces making sure that the top of the Oval Pattern covers the top of the borders. Layer and adhere the pieces to the oval from Step 4. For a demo, please see my video.
- Add a title from the Charming Village Stickers and Charming Village Embellishments with Foam Squares to the oval piece as shown.

Lastly, I also created the sample layout for the Candlelit Bundle for Creative Memories. For instructions, please see the Creative Memories blog. The Candlelit Bundle includes the Candlelit Flame Recipe Template, Candlelit Paper Pack, Candlelit XL Embellishments, Candlelit Card Kit and the Flames and Drops Decorative Punch. The punch can be used for flames, raindrops, teardrops, or water splashes.
Don’t delay in purchasing to receive one or more of these Black Friday Bundles for FREE! I so appreciate your purchases through my Creative Memories website link, and I offer a generous Customer Rewards Program.
Happy Scrapping!
Karyn