Punched Hollow Frame Layout Using Border Maker Cartridges

Fall is right around the corner, and I was anxious to play with Creative Memories new fall collection! I used a fun technique to create a beautiful layout with the new Acorn & Leafs Chain Border Maker Cartridge and Grateful Harvest Collection.

I used only one double-sided sheet of the Grateful Harvest Tone-on-Tone Papers to create the gorgeous layout above. I folded the sheet in half on the diagonal and punched using the Border Maker System with the Acorns & Leaf Chain Border Maker Cartridge. (Please use a chain-style border maker cartridge and only use designer paper. Cardstock is too heavy for this technique.) You’ll want to watch my video for instructions and tips.


I used the new Rich Cocoa Ink Pad to distress the outside edges of a sheet of Bright White Cardstock, the center piece of paper and also the 4″ x 5-7/8″ photos mats and embellishments. I also used the ink to add a smear of the rich cocoa color to the caps of my acorns. I cut a variety mat to 6-1/2″ x 3-1/4″ for the title piece. Lastly, I used the new Chrysanthemum Punch to create some layered flower embellishments that I also inked.

You may purchase the items that I used at www.creativememories.com/user/karyn.

To create my second layout, I used the Follow the Trail Chain Border Maker Cartridge with the Wandering Wild Collection (both from 2025 Secret Box #3) and a sheet of the new Caramel Cardstock. Again, I used the Rich Cocoa Ink Pad to ink the edges of the cardstock pieces. My photo mats are (1) 3-3/4″ x 4-1/2″ and (2) 5-1/4″ x 3-3/4″. The journaling piece are 3-3/4″ x 3/4″.

Please click below to download a printable instructional handout.


It’s time to register for my Virtual Croptoberfest Workshop!

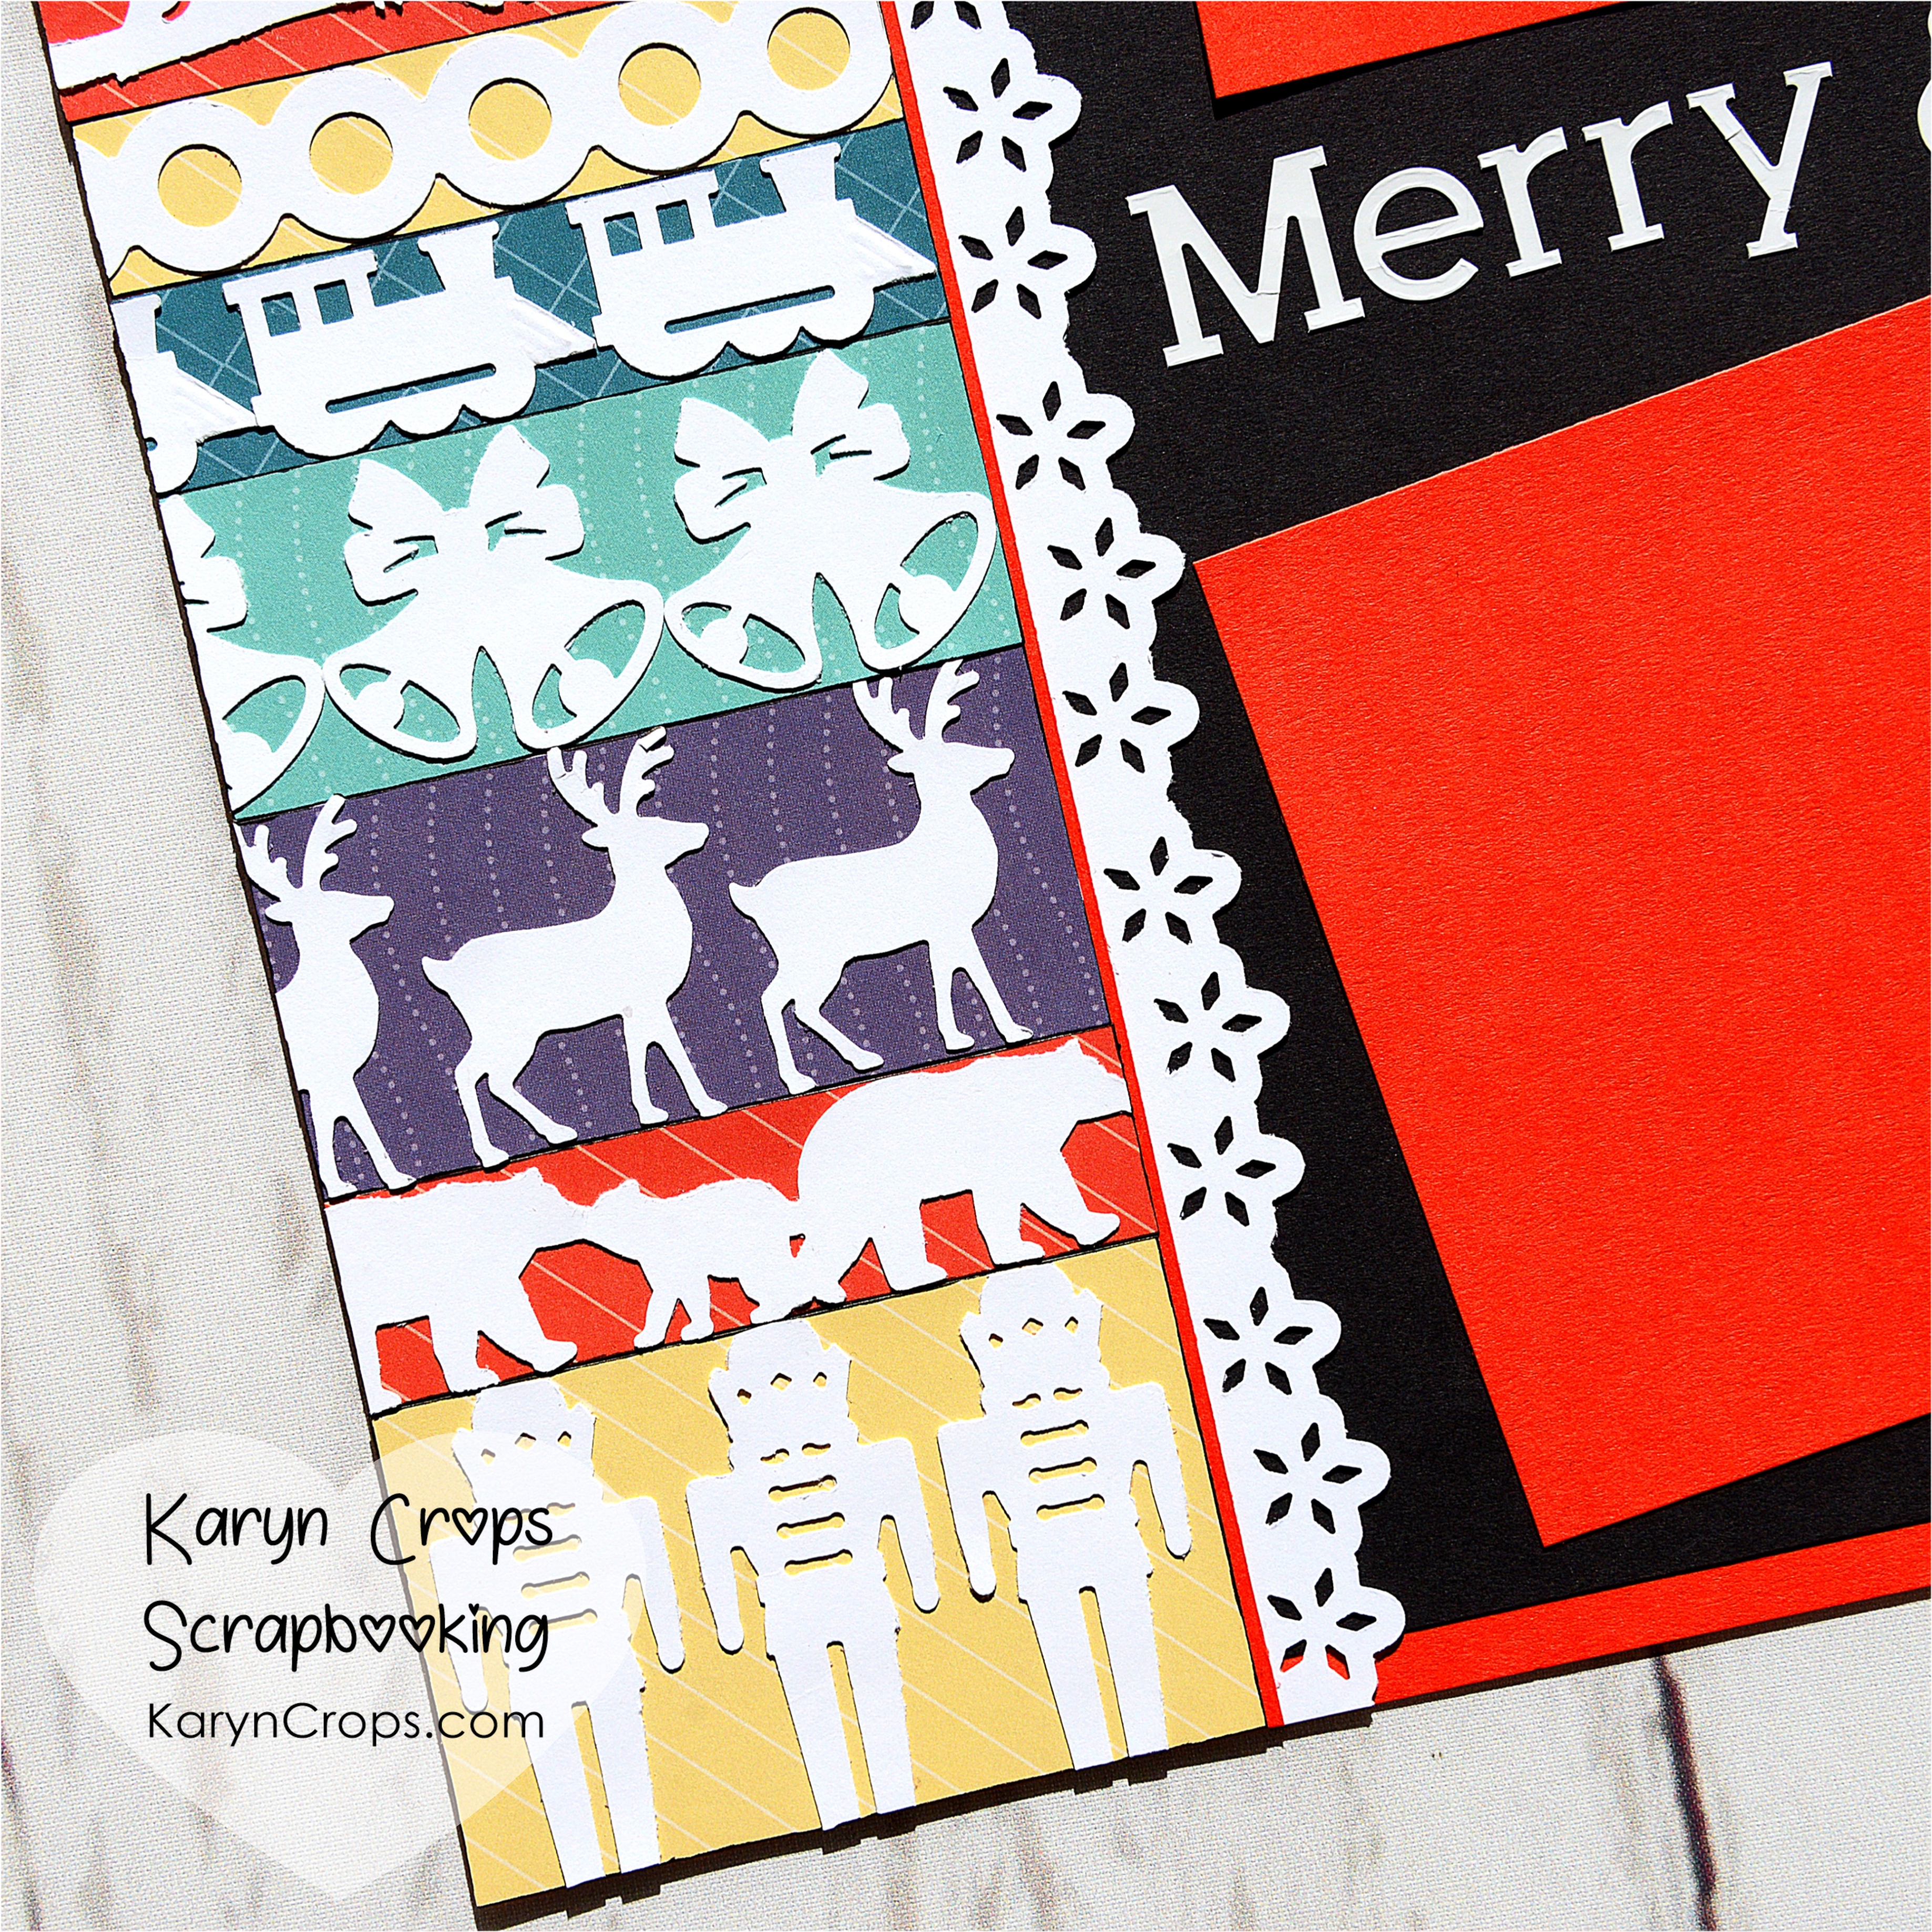
For the workshop, I’ll share printable instructions and recorded videos to create several of my own exclusive Croptoberfest layouts. There are (4) double-page layouts, (1) Bonus double-page layout and (1) Bonus single-page layout. I’ll also host sessions on Zoom on September 26th and 27th to view my instructional videos together. You’ll be able to crop along and ask questions. Below is a look at the Bonus Single-Page Layout that I created.

Please register now so you’ll have plenty of time to order your supplies! For a Supply List and complete information, please see my registration form.

Happy Scrapping!
Karyn

Punched Hollow Rings Scrapbook Layout

March comes in like a lion and goes out like a lamb. Today I’m sharing two layouts that almost represent this age-old adage. My first layout is a snowy version, and my second layout is a tropical version – a little bit of ying and yang. But you can use this technique to create layouts for any themes using any papers.

I used the Original Border Maker System from Creative Memories with two different styles of border maker cartridges to create punched semi-circles with pretty scalloped edges. For the center part of my hollow rings, I used a knock-out or negative space style BMC. And for the punched edges, I used a chain style BMC for my first layout and an edge style BMC for my second layout.

I used the Sun-Soaked Collection with the Footprints BMC (retired) and the Citrus Slice BMC for my layout above. For my first layout, I used the Flurry of Fun Collection with the Mittens and Flurries BMC and Double Fan BMC. All are from Creative Memories.

For a demonstration on how to create my layout, please click here to see my YouTube Video.

For a printable instructional handout, please click below to download.


Please see my Creative Memories website for most of the items that I used for these layouts. Now is a great time to place an order as CM is offering FREE SHIPPING on purchases of $80+ in the United States until noon CT on March 7th! You might also like to order the National Scrapbook Day 2025 Customer Bundle as I will be using this bundle to create my own exclusive layouts for my Virtual NSD Workshop on April 5th.

Please click here to register for my Virtual National Scrapbook Day Workshop.


Happy Scrapping!
Karyn

Triangle Christmas Tree Scrapbook Layout

Oh, Christmas Tree, your branches green delight us! For my monthly Technique Layout & Challenge, I used triangle pieces and a variety of small punches and border maker cartridges from Creative Memories to create this beautifully adorned Christmas Tree. It will be great for photos of your family around your Christmas Tree.

I used a sheet of wood grained paper from the Wonderful Day Paper Pack and papers, stickers and a variety mat from the Christmas Charm Collection for my layout. I also used a sheet of Bright White Cardstock. For my tree ornaments, I used a variety of small punches and border maker cartridges and a few of these are currently available as BOGO items for CM’s Holi-Deals. You’ll find the Piece-by-Piece Mini Trio Punch Set and the Mirrored Scallops Border Maker Cartridge as BOGO items. The Ribbons and Bows Border Punch is not part of the BOGO sale, but it is in limited quantity in the Last Chance section. The Bears Chain Border Maker Cartridge is a current item. I also used the retired Ornaments Chain Border Maker Cartridge and the retired Christmas Quartet Mini Punch for the remaining ornaments. You can easily substitute other border maker cartridges for these pieces.

For complete instructions and a demonstration, please view my YouTube video. After you view my video, please subscribe to my channel and click on the bell icon to receive notifications when I add new videos.


Creative Memories Holi-Deals will end at noon CT on December 20th or while supplies last. In addititon to the BOGO items, there are other selected items at 30-40% off! Please shop early for the best selection.

Don’t forget to check out the fun Holly Days feature at Creative Life Scrapbooking! The designers are sharing a new holiday layout each day from December 1st-7th. And we’ve offered a Holly Days Sketch Book with measurements for the layouts.

Happy Scrapping!
Karyn

12 Days of Christmas Scrapbook Layout

It’s the most wonderful time of the year – an entire month of colorful lights, giving and celebrating! I’ve been feeling a bit nostalgic lately and have been reminiscing about Christmas past. As a youngster, we celebrated Christmas Eve with a large gathering of grandparents, aunts and uncles and LOTS of cousins. My aunts led sing-alongs, and the 12 Days of Christmas was always a jolly affair with different groups of people singing for each day. My dad had a beautiful singing voice, and I always sang one of the days with him. I created this colorful layout to duplicate the 12 Days of Christmas with some of the punches and border maker cartridges from Creative Memories.


Creative Memories didn’t have any exact matches, but we’ve had the Songbirds and Cardinals Border Punches which sufficed for turtle doves and a partridge. The old Circle Chain Border Maker Cartridge was perfect for five golden rings. And I have some nutcrackers cracking, polar bears plunging, reindeer leaping, bells a-ringing, and trains a-tooting. Take a look at your punches and border maker cartridges and see what you can create using this idea!

Also make sure to check out Creative Memories Holi-Deals special which just began! CM is offer 30-40% off select items and also a BOGO special for selected punches and cartridges. You’ll find some of the punches and cartridges that I used in the DEALS section of the website as BOGO items – Polar Bear Border Punch, Cardinals Border Punch, Bells & Bows Punch, and the Poinsettia Border Maker Cartridge.

Your challenge will be to cut background strips that create a 12″ panel. I had to trim down my nutcrackers, songbirds, and cardinals to make them fit on my strips. From top to bottom, my strips measure: 1-1/8″, 1″, 7/8″, 1″, 3/4″, 7/8″, 1-3/8″, 1-11/16″, 15/16″, 2-1/8″. All are 3-1/2″ wide. I used the This Life Krafted Rainbow Paper for my strips and Bright White, Black and Red Cardstocks.


If this layout reminds you of a Christmas sweater, make sure to see the Creative Life Scrapbooking Facebook Page tomorrow, December 4th as we share a spectacular Christmas sweater layout for our Annual Holly Days feature! From December 1st-7th, the Creative Life Scrapbooking team is sharing a new holiday layout for Holly Days. We also have a Holly Days Sketch Book available for a special holiday price on our website at www.creativelifescrapooking.com. Below is the layout that I shared with CLS on December 1st.


While you’re at the Creative Life Scrapbooking website, make sure to register for our 2025 PJ Party Virtual Crops at our discounted Combo pricing! The CLS designer team and special guest designers share versatile double-page layouts that each feature a technique. There are no special materials or tools to purchase, and we encourage you to use your stash, and we make tool substitution suggestions. There are live Zoom sessions and pre-recorded sessions and all layouts feature a full-color step-by-step printable handout. We also host private Facebook groups for the parties where participants share hundreds of versions of our layouts for an entire month of fun and prizes! (For my January 2025 PJ Party layout, I used the Mandala Burst Border Punch. This is a BOGO punch right now with Creative Memories, so it’s a great time to purchase it if you don’t already have this one.)

Happy Scrapping!
Karyn

Racetrack Scrapbook Layout

The Revved Up Collection is such a fantastic addition to the Creative Memories product line! It’s great for all who have photos of motorsports from car racing, car shows, classic cars and hot rods to motorcycles and dirt bikes! Without the stickers and embellishments, the papers are great for any kind of masculine layout.

I used the Revved Up Collection with the Gear Wheel Border Punch and Tire Tracks Border Maker Cartridge to create this layout for some of my husband’s late model race car photos. I used the border punch and border maker cartridge to punch around large circles that I cut using the Custom Cutting System with the Jumbo Circle Pattern. I also used CM’s White and Cranberry Cardstock.

Please see my YouTube video for a demonstration of how I punched these pieces.

If you like this layout, make sure to see the Revved Up layout that I shared here last week.

All of the tools and materials that I used are currently available through my website link at Creative Memories. While you’re at the website, always make sure to check out the NEW section to see the most current items and promotions.

When you shop with me, you’ll see my name and photo in the upper left corner of your screen and also during the check-out process. When you make a purchase with me, you will automatically be enrolled in my generous Customer Rewards Program.

Happy Scrapping!
Karyn

Fancy Punched Corners

Creative Memories is widely known for producing some of the best scrapbooking tools on the market, and I love to share techniques for using those tools! In addition to tools, CM also offers some of the freshest and on-trend scrapbooking papers, embellishments and stickers along with some great storage options. If you haven’t looked lately, now is a great time to browse all of the categories on the CM website!

For my June Monthly Technique Layout and Challenge, I shared a technique for punching paper corners with either Border Punches or the Original Border Maker System to create fancy patterns. This technique will work with edge or knockout style Border Punches and Border Maker Cartridges. For my first layout, I used the edge style Floral Peaks Border Punch with papers, embellishments and stickers from the Tropic Time Collection.

For my second layout, I used the Hand Tools Border Punch and also the Original Border Maker System with the Tire Tracks Border Maker Cartridge with paper, stickers and embellishments from the Revved Up Collection. The knockout style of this punch and cartridge creates a different type of pattern than the edge style punches and cartridges. I love the versatility of this technique and the different looks that you can punch!

For step-by-step directions and a demo, please view my instructional video on my YouTube channel. Make sure to watch to the end of the video to hear about my 2024 Summer Layout Challenge!

All of the tools and materials that I used for these two layouts are available for purchase through my CM website. With your purchase, you’ll be enrolled in my Customer Rewards Program to receive gifts and credits from me!

Thanks so much for visiting with me today! Happy Scrapping!

Karyn

Diagonal Punched Scrapbook Borders

I love scrapbooking techniques that are quick and easy, but yet create beautiful results! And that perfectly describes the technique that I’m sharing today. This technique only requires 2 sheets of paper, a few embellishments and a chain style border maker cartridge.

I used the Original Border Maker System from Creative Memories to punch a portion of the top sheet of designer paper and then reassembled the sheet with the borders. For my first layout, I alternated the Brocade Chain and the Wispy Chain Border Maker Cartridges and used paper, stickers, embellishments and a variety mat from the Something Blue Collection.

For my second layout, I used the new Bears Chain Border Maker Cartridge with papers and embellishments from the Welcome Baby Collection. I also added flowers and leaves from the Floral Essential Yellow and Teal Embellishments (a recent promotion offering). I love how we can easily mix and match across many of the collections by Creative Memories!

For step-by-step instructions, please view my YouTube video where I provide the measurements for cutting a triangle from the top sheet and also tips on selecting papers and border maker cartridges.

Please also subscribe to my YouTube channel and click on the bell icon to receive notifications when I add new videos.

You may purchase the tools and materials that I used for both layouts through my Creative Memories website link. I appreciate your purchases and offer a generous Customer Rewards Program!


Please consider joining me for two different virtual events in April. On April 20th, I’ll be hosting my Virtual National Scrapbook Day Workshop on Zoom and sharing my own exclusive layout designs. On April 26th, my scrappy friends and I at Creative Life Scrapbooking will be hosting our PJ Party Virtual Crop on Zoom. Both events will be recorded if the dates are bad for you. Please use the links below to see more information about the events and to register.


Thanks so much for visiting with me today!
Karyn

Pretty Punched Scrapbook Borders

Creative Memories offers some of the best scrapbooking tools on the market.โ€‚Some of the tools stay constant in the product line while others retire and are replaced with new tools.โ€‚ Over the years, I’ve collected a LARGE assortment of Creative Memories punches and border maker cartridges, and I LOVE to find new ways to use them!โ€‚You’ll love the technique that I used to make these two layouts as it can be used with many different border punches, frame punches and border maker cartridges!

For my first layout, I used the Original Border Maker System with the Brocade Chain Border Maker Cartridge to create my pretty punched borders.โ€‚I used papers and stickers from the new Sweet on You Collection.โ€‚

For my second layout, I used the Damask Flourish Frame Punch and papers and stickers from the Painted Garden Collection.โ€‚

I LOVE how many different punches and cartridges can be used with this technique to create totally different looks!

To create the border pieces for both of the layouts, cut squares to 3″ x 3″, fold the squares into triangles, and then punch the triangles.โ€‚You can use the punched pieces to create single borders or double borders as I did.โ€‚Or you can add the pieces around all four sides of a page for yet a different look.

To view a step-by-step demonstration, please click here to see my YouTube video.โ€‚Thank you also for subscribing to my YouTube channel.โ€‚


All of the tools and materials that I used for these layouts can be ordered through my Creative Memories website link.โ€‚Thank you so much for your purchases!


UP-COMING EVENTS:

Please see the Creative Life Scrapbooking website for information about our PJ Party Virtual Crops.โ€‚Our first Party of 2024 will begin on January 26th (all Zoom sessions are recorded.).โ€‚You can register for all 4 of our 2024 PJ Parties at a discounted price for a limited time.

Please click here to see the Creative Life Scrapbooking website.


Camp Crop-A-Lot Week Scrapbooking Reteat
February 22nd – 25th, 2024

I have a few spaces remaining for my February Weekend Scrapbooking Retreat.โ€‚Please register asap to save your spot!โ€‚Please click here to see the registration form for complete information.


Karyn’s Croppers Quarterly Kit Club
Please contact me ASAP to join my Quarterly Kit Club!โ€‚(Please use the Contact Me tab at the top of this page.)

Happy Scrapping!
Karyn

Christmas Layouts using the Welcome Gnome Border Punch

I’ve been playing with the Welcome Gnome Border Punch that I received for FREE as part of the Welcome Gnome Black Friday Bundle from Creative Memories. With a purchase of $150, you can select the Welcome Gnome Bundle that includes the Welcome Gnome Border Punch, Welcome Gnome Paper, Welcome Gnome Stickers, Welcome Gnome Embellishments, and Welcome Gnome Card Kit for FREE!

There are 3 exclusive Black Friday bundles to select from this year, and each is spectacular! All 3 of the Black Friday bundles have a retail value of $63 and contain exclusive items that won’t be available to purchase otherwise. The Black Friday Promo is scheduled to end at noon CT on November 17th, but it’s likely that the bundles will run out before that time. So please place your orders early. I appreciate your purchases through my Creative Memories website link.

I used the Welcome Gnome Border Punch in two unexpected ways for my layouts today. I used my Micro-Tip Scissors to cut apart border pieces to get individual hats. For my first layout, added the hats to owls that I created with the Owl Build-A-Punch. Unfortunately, the Owl Build-A-Punch is sold out with Creative Memories. I also used the Original Border Maker System with the Treeline Border Maker Cartridge, Christmas Cheer Paper, Christmas Cheer Stickers and Christmas Cheer Variety Mats for the layout above.

To create my layout:
1. Cut a 2-3/4″ x 12″ strip from striped paper. Cut a 2-1/4″ x 12″ strip from Red Cardstock and adhere to the striped strip. Cut a 2″ x 12″ strip from plaid paper and adhere to the border. Adhere the border to a sheet of paper from the Christmas Cheer Paper Pack.
2. Use the Original Border Maker System with the Treeline Border Maker Cartride to punch a border from Avocado Cardstock. Cut off of the cardstock at 3″. Cut the border into 2″ segments and adhere four segments to the border.
3. Use the Owl Build-A-Punch with Beige, White and Black Cardstocks to assemble three owls. Adhere the owls to the border as shown.
4. Use the Welcome Gnome Border Punch to punch a border from Red Cardstock. Use Micro-Tip Scissors to cut off three hats. Tear scraps of White Cardstock and adhere behind the hat pieces trimming to fit. Adhere the hats with Foam Squares to the owls.
5. Cut a 3/4″ x 12″ strip from Red Cardstock and a 1/2″ x 12″ strip from striped paper. Layer and adhere the strips to the right edge of the layout.
6. Cut a 6-1/4″ x 10″ piece from Red Cardstock and adhere to the layout as shown. Cut a 6″ x 1-1/2″ strip from striped paper and adhere to the top of the panel. Cut two 6″ x 4″ photo mats from White Cardstock and adhere to the panel.
7. Cut a 3″ x 1/2″ piece of Avocado Cardstock and adhere with Foam Squares as shown. Add a title sticker.
8. Fussy cut a journaling tag from a Christmas Cheer Variety Mat. Adhere with Foam Squares as shown.
9. Add additional stickers as shown.

My second layout includes another unexpected way to use the Welcome Gnome Border Punch. I cut the hats off a gnome border and took the beard pieces that are punch debris and reassembled the beards and hats to give the suggestion of Santa Claus. Again, I used paper, stickers and variety mat from the Christmas Cheer Collection.

To create my layout:
1. Cut a 1″ hollow frame from a sheet of Dark Green Cardstock. Cut Christmas Cheer Paper to 11-1/2″ x 11-1/2″ and adhere to the hollow frame.
2. Cut an 11-1/2″ x 2-1/4″ strip from Dark Green Cardstock and an 11-1/2″ x 2″ strip from White Cardstock. Layer and adhere the strips together.
3. Cut (9) 7/8″ x 1-5/8″ pieces from Dark Green Cardstock. Cut (5) 3/4″ x 1-1/2″ pieces from a red paper and (4) pieces from a blue paper. Layer and adhere the pieces together.
4. Use the Welcome Gnome Border Punch to punch a border from White Cardstock. Use Micro-Tip Scissors to fussy cut (9) hats.
5. Adhere the hats and beards (that are punch debris) onto the small rectangle pieces as shown.
6. Cut a Christmas Cheer Variety Mat to 2-1/2″ x 4″. Use a Green Dual-Tip Pen to add faux stitching around the mat piece. Mat the piece with a 3″ x 4-1/2″ piece of red plaid paper. Mat with a 3-1/4″ x 4-3/4″ piece of Dark Green Cardstock. Adhere the piece to the border as shown and adhere the Santa rectangle pieces.
7. Cut a 5-3/4″ x 4-1/4″ and (2) 3-1/4″ x 5-1/4″ photo mats from Dark Green Cardstock. Adhere to the layout as shown using Foam Squares for one of the smaller mats.
8. Cut a 4-7/8″ x 2-1/4″ piece from Dark Green Cardstock. Cut a 4-3/4″ x 2″ piece from White Cardstock and adhere to the green piece. Adhere the layered piece to the layout as shown. Add two rectangle Santa pieces.
9. Add Christmas Cheer Stickers with Foam Squares.

You can purchase the Christmas Cheer Collection and Treeline Border Maker Cartridge through my Creative Memories website link. With a $150 purchase, you can select a FREE Black Friday Bundle! Don’t delay as the bundles are likely to run out before the Black Friday end date of November 17th.

Happy Scrapping!
Karyn