Circle Layout Done 2 Ways

I had so much fun creating the layouts below with a little help from my granddaughter! She was my creative consultant, helping me choose cardstock colors and punch the shapes. It warms my heart to share my love of memory keeping and scrapbooking with a new generation.

Now that the kids are out of school, it’s the perfect time to pull out your punches, cardstock, and scrapbook supplies and let the little ones in your life exercise their creativity. Not only will they have fun creating, but you’ll also be making memories together that you’ll both cherish.

If you’re looking for a great way to get them started, be sure to check out the Creative Memories Kid Kits, which are 20% OFF right now! They make it easy and fun for young crafters to create their own keepsakes.

For my first layout, I used the Creative Memories Circle Punch and the old Star Maker Punch to create a fun U.S. flag design. I think it’s going to be perfect for showcasing some of the photos I took over the Independence Day weekend!

This layout was also a great way to use up a variety of paper scraps. Sometimes those little leftover pieces turn into the best embellishments!

To add a little extra sparkle, I punched the stars from White Shimmer Paper, then used Creative Memories Dual-Tip Pens to draw faux stitching around the circles and stars. That simple detail really made all of the elements pop and gave the layout a finished, handcrafted look.

For a video demonstration, please view my YouTube video and make sure to subscribe to my channel so you don’t miss my next video.


For my second layout, I used the same technique to create a cheerful floral design with space for horizontal photos. It would be perfect for spring and summer memories, gardening photos, or any occasion that deserves a bright, happy page!

Once again, I reached into my stash of paper scraps to punch the flowers and stems. It’s amazing how quickly those little leftover pieces can be transformed into colorful embellishments.

For this layout, I used the Creative Memories Sweet Blossom Trio Punch to create the flowers and the Cyclic Circles Border Maker Cartridge for the flower centers.

I hope these layouts inspire you to pull out your punches, use up some of your paper scraps, and create something uniquely your own.

Please click below to download a printable handout for this layout.


The Creative Memories Annual Summer You-Pick-It Promotion is Here!

Now through noon CT on Friday, July 17 (or while supplies last), you can earn an amazing FREEBIE with your qualifying order!

With a $150 US purchase, you’ll get to choose 1 of 4 FREE Gift Bundles. Each option is packed with great products, so you really can’t go wrong!

Planning a larger order? Even better! You can earn additional FREEBIE Bundles with qualifying purchases, with a maximum of 4 FREE Gift Bundles per order.

Since all four choices are popular, it’s very likely that some options will sell out before the promotion ends. If you have a favorite, I encourage you to place your order early so you have the best chance of getting the bundle you want.


My scrappy friends and I at Creative Life Scrapbooking are excited to host our quarterly PJ Party Virtual Crop at the end of the month!

We’ll kick off the fun with a live Zoom session on Friday, July 31, where we’ll create 4 double-page layouts together. Then, you can enjoy pre-recorded video tutorials for 3 additional layouts, allowing you to scrapbook at your own pace whenever it’s convenient.

All of the layouts are designed to be versatile, making it easy to use your favorite papers and photos. We also offer simple tool substitutions, so you can create beautiful pages with the supplies you already own.

But the fun doesn’t end there! Throughout the month, you’ll be invited to our private Facebook group, where participants share hundreds of creative interpretations of the layouts. It’s a wonderful place to gather inspiration, cheer each other on, and be entered into our door prize drawings just for participating!

If you’re looking for a month full of creativity, inspiration, and friendship, we’d love to have you join us for our PJ Party Virtual Crop!


Happy Scrapping!
Karyn

Diagonal Punched Border Layout

I love finding unique ways to use our Creative Memories tools! We make such an investment in our tools, so it’s always exciting when we can discover multiple ways to use them in our projects.

The technique I’m sharing today is a fun and creative way to use our Shape Punches — and it adds such a unique touch to scrapbook layouts!

To create my layout above, I used the Celebration Cake Punch and the Birthday Bash Collection — all from Creative Memories!

After punching the border, I cut it apart using the 45-degree line on the 12-Inch Trimmer and then reconstructed the border onto a strip of Bright White Cardstock.

I love how this technique gives a completely different look to the punch and creates such a fun decorative accent for scrapbook layouts!

For my second layout, I used the same technique with a trio of Shape Punches!

This time I used the Embossed Seashell Punch, Sea Turtle Punch, and Fresh Flower Punch along with the Chasing the Sun Collection from Creative Memories.

You can use this technique with a variety of Shape Punches, but I do recommend first testing the spacing of your punches using scrap paper before creating your final border design. It’s a great way to experiment and see what combinations work best together!

You’ll find all of the tools and materials that I used for both layouts on the Creative Memories website. I truly appreciate your purchases using my CM website link — your support means so much to my small business! And don’t forget that I offer a generous Customer Rewards Program too!


For a step-by-step demonstration, please view my instructional video. If you haven’t already, I would appreciate your subscription to my YouTube channel.


For a printable instructional handout, please click the download button below.


Register Now & Save the Date!
Join us for the 2nd Annual Memories Matter Alzheimer’s Fundraising Virtual Crop! 

A group of Creative Memories Advisors is once again coming together to host this special event in support of the Alzheimer’s Association. Last year, we raised an incredible amount—and we’re excited to make an even bigger impact this year!

What you’ll get:
For your minimum donation of $35, you’ll receive access to exclusive layouts created by me and 14 other talented advisors.  Each layout will include an instructional handout and video.

The instructional materials will be hosted in a private Facebook group. During the week of June 20th, the printable handouts will be shared in the group. On June 20th, the instructional videos will be released according to the event schedule. All instructional materials will be available for you to enjoy and create at your own pace indefinitely.

Scrapbook with purpose and help us make a difference!

Happy Scrapping!
Karyn

Winter Scrapbook Layouts

Brrr! It’s a blistery 8 degrees here in central Illinois today—absolutely perfect weather for scrapbooking! I’m hunkered down and busy designing layouts that I’ll be teaching at my upcoming weekend scrapbooking retreat on February 12–15. But I also have some other layouts to share with you right now, so you can start creating today!

For my February Technique Layout, I created a beautiful wintery design in shades of blue and tan using the new Winter Bliss Collection from Creative Memories. I also used the Custom Cutting System with the Jumbo Circle Pattern, along with the Gingerbread Border Punch, Dancing Snowflakes Border Punch (sold out), and Ice Skate Punch (retired)—all from Creative Memories. This layout is easily adaptable using any papers and any combination of punches you have on hand.

👉For a step-by-step demonstration, be sure to watch my YouTube video. At this time, there is no printable handout available for this layout.


Last week, Creative Memories introduced the NEW On the Bright Side Collection, featuring the Whimsical Scallop Border Punch. I was delighted to create the marketing layouts for Creative Memories using this cheerful new collection. I loved working with the joyful color palette and playful paper designs—they’re such a treat to create with!

👉You’ll find step-by-step instructions for recreating this layout on the Creative Memories blog.

The Winter Bliss Collection, Gingerbread Border Punch, On the Bright Side Collection, and Whimsical Border Punch are all available for purchase through my Creative Memories website.
👉 Click here to shop with me!

When you shop through my link, you’ll be automatically enrolled in my Customer Rewards Program—and I’m excited to share a brand-new first quarter Customer Rewards gift with you!


Do you love your Border Maker System and love playing with your Border Maker Cartridges? You’re going to have a lot of fun creating this layout that I created for Creative Life Scrapbooking! I made this super cute layout to showcase photos of me with friends and family wearing our holiday sweaters and t-shirts. I have a fun collection of Life is Good t-shirts that I love wearing during the holiday season. The sweaters on this layout would also look adorable created in shades of blue for a cozy winter-themed layout.

👉You can find the instructional handout in the Shop section of the Creative Life Scrapbooking website.


Would you love some fresh scrapbooking layout ideas? Join me and my scrappy friends for our upcoming Creative Life Scrapbooking PJ Party Virtual Crop — a fun evening of creativity and connection!

We’ll be sharing 7 double-page layouts, each featuring a unique scrapbooking technique. These layouts are versatile and perfect for helping you scrap your stash!

The virtual crop begins on Friday, January 23rd with our Zoom session. We’ll create 4 layouts together on Zoom, and the instructions for 3 more additional layouts are shared in the private Facebook group for the event. The private group is open so you can begin printing the instructional handouts and creating the Pre-Party Layouts. The Zoom sessions will also be recorded, and you’ll have an entire month to complete your layouts for door prize entries. Plus you’ll enjoy an entire month of inspiration as participants share hundreds of layout examples following the live event!

💰 Special Offer: Register now with our COMBO for all 4 PJ Parties in 2026 and receive a discounted price!

👉 For details and to register, visit: www.creativelifescrapbooking.com.

Happy Scrapping!
Karyn

Quick & Easy Folded Tree/House Layout

Ho, ho , ho! It’s the most wonderful time of the year! December has started with a bang over at Creative Memories with a year-end sale of over 175 different items! You’ll be able to find some bargains marked at 60% off!

Also, the Creative Life Scrapbooking Team launched its annual Holly Days feature yesterday. The CLS team is sharing a new holiday layout each day from December 1st – 10th on its Facebook page. Plus, there’s a Holly Days Sketch Book with measurements available on the CLS website.

For my December Technique Layout & Challenge, I’m sharing a super quick and easy layout today. You only need 2 sheets of paper and some cardstock and a few cuts and folds to make this beautiful layout to highlight 2 special photographs.

To create my layout, I used the Star of Wonder (Black Friday Promo) Collection, but you can substitute with any materials.

When I first created this layout, I saw a Christmas Tree in my folded piece. But after looking at it longer, I also see a house. Will you create yours as a tree or a house? Make sure to share a photo of your completed version in my private Facebook group for an entry into my December Door Prize Drawing!

For a printable instructional handout, please click the download button below.


Creative Life Scrapbooking Holly Days
December 1st – 10th


Please follow the CLS Facebook page to see a new holiday layout each day from December 1st – 10th! You’ll find the downloadable Holly Days Sketch Book that contains sketches with measurements of all 10 layouts at www.creativelifescrapbooking.com.


Creative Memories End-of-Year Sale!
Dec. 1-23 starts & ends at noon CT or while supplies last
Shop early for best selection!

Exciting new things are coming in 2026, but FIRST — “The Next Chapter Event” begins with up to 60% OFF your CM faves! Limited-time deals on your CM favorites to make room for what’s coming in 2026!

  • Shop 175+ deeply discounted products (find them under Deals > Sale).
  • Some items discounted up to 60% off!
  • Discounted Bundles with Digital Project Playbooks: These products, originally launched in 2022, are now available as convenient bundles deeply discounted, complete with a brand-new Digital Project Playbook for each, with instructions to create 6 projects total — created in 2025 by talented Advisor contributors! Shortly after purchase, you’ll receive an email with the Digital Project Playbook(s).
  • Act fast — the discounted items are only available while supplies last!

Happy Scrapping!
Karyn

Easy Jumbo Circle Layout

For my Technique Layout and Challenge this month, I’m sharing a quick and easy layout idea. Although it’s quick and easy, it still delivers a great visual impact. And there’s room for plenty of photographs and journaling while preserving the graphic design.

To create my layout, you’ll only need your 12-Inch Trimmer and Custom Cutting System with the Jumbo Circle Pattern. For my layout above, I used the new Grateful Harvest Collection with the new Caramel Cardstock and Beige Cardstock. I also used the new Potter’s Clay Ink Pad to ink the edges of the layout, my photo mats and the embellishments and stickers.

For a step-by-step demonstration on how to create this layout, please view my video by clicking here.

All of the tools and materials that I used are available for purchase by clicking here.

I used the same method to create my sample layout above. For this layout I used the Coastal Scenes Bundle (retired) with Baby Blue and White Cardstocks.

For a printable instructional handout for this layout, please click below.


This week, Creative Memories released the Magic of Christmas Collection, along with a Jingle Bell Punch, Ornaments Border Punch and Angels Chain Border Maker Cartridge. You can purchase all of these items as a bundle for 10% off.

To celebrate CM’s birthday, you will receive a creativity bundle as a freebie with a $120 purchase. The bundle includes Challenge Cards with instructions for exclusive layouts and projects along with sleeves to store the cards and printed copies of all 2025 Project Recipes and Virtual Crop Sketches. These ideas will keep you scrapping all year long!

Happy Scrapping!
Karyn

Punched Hollow Frame Layout Using Border Maker Cartridges

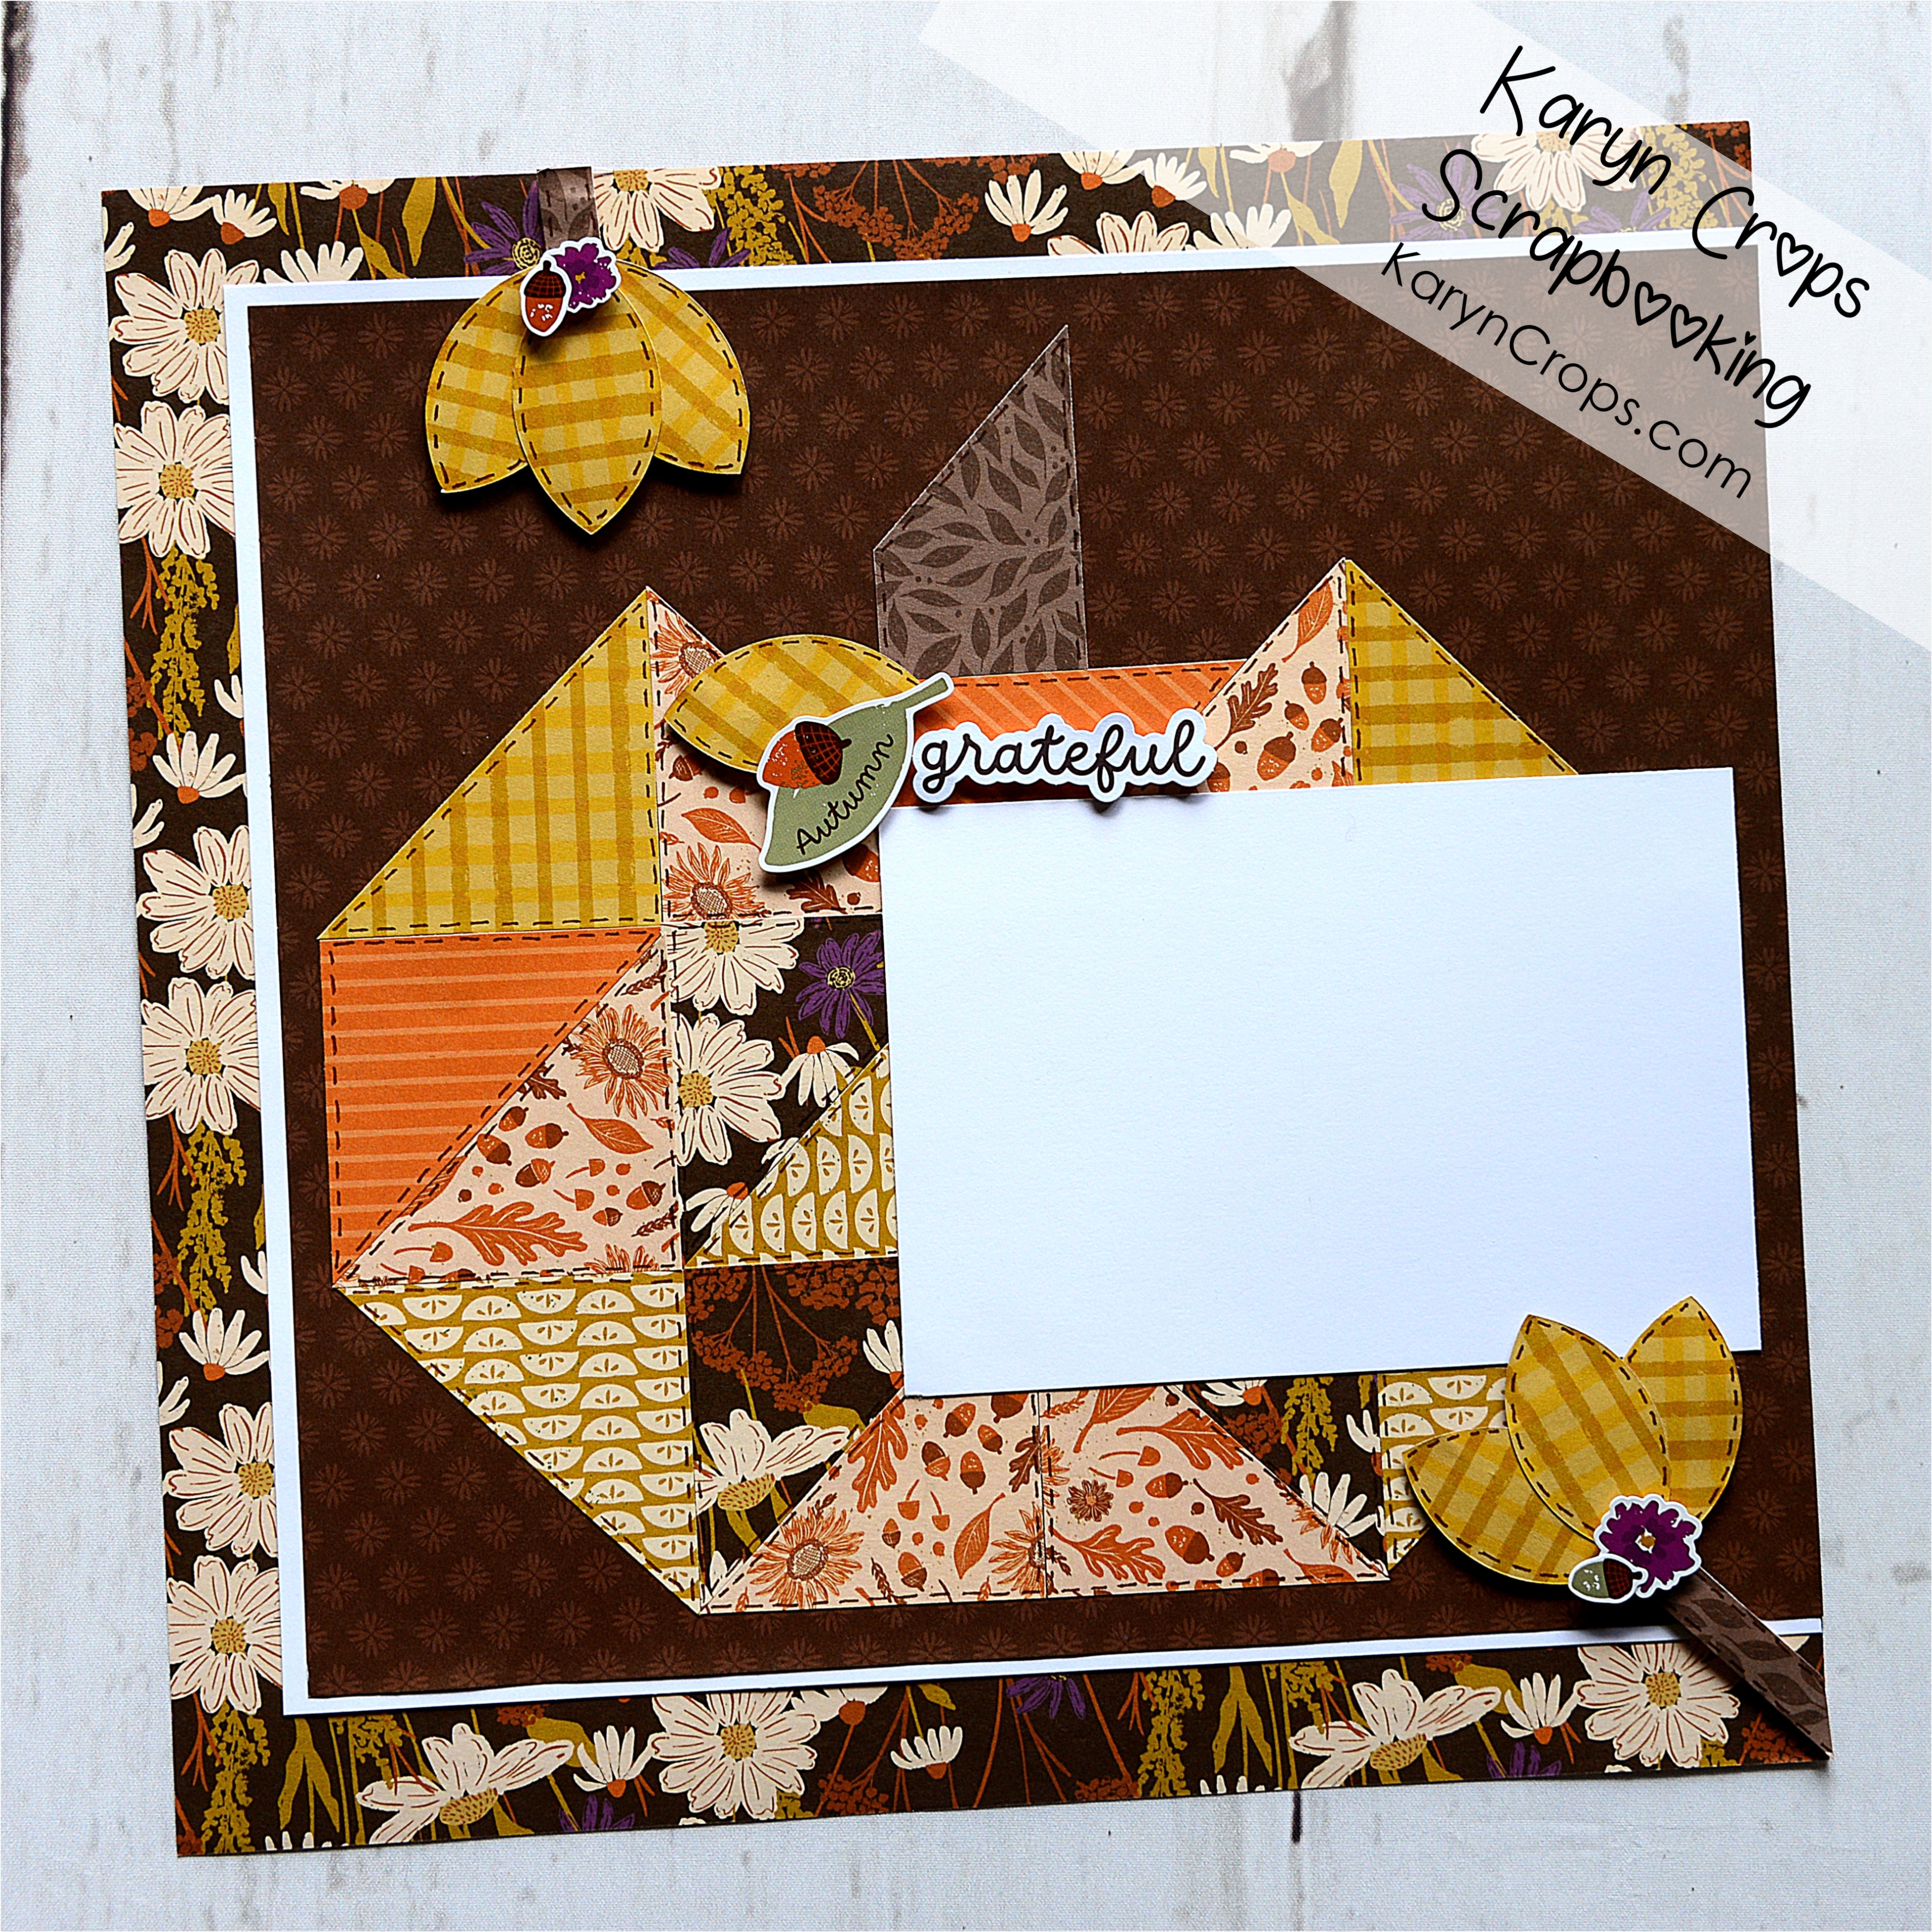
Fall is right around the corner, and I was anxious to play with Creative Memories new fall collection! I used a fun technique to create a beautiful layout with the new Acorn & Leafs Chain Border Maker Cartridge and Grateful Harvest Collection.

I used only one double-sided sheet of the Grateful Harvest Tone-on-Tone Papers to create the gorgeous layout above. I folded the sheet in half on the diagonal and punched using the Border Maker System with the Acorns & Leaf Chain Border Maker Cartridge. (Please use a chain-style border maker cartridge and only use designer paper. Cardstock is too heavy for this technique.) You’ll want to watch my video for instructions and tips.


I used the new Rich Cocoa Ink Pad to distress the outside edges of a sheet of Bright White Cardstock, the center piece of paper and also the 4″ x 5-7/8″ photos mats and embellishments. I also used the ink to add a smear of the rich cocoa color to the caps of my acorns. I cut a variety mat to 6-1/2″ x 3-1/4″ for the title piece. Lastly, I used the new Chrysanthemum Punch to create some layered flower embellishments that I also inked.

You may purchase the items that I used at www.creativememories.com/user/karyn.

To create my second layout, I used the Follow the Trail Chain Border Maker Cartridge with the Wandering Wild Collection (both from 2025 Secret Box #3) and a sheet of the new Caramel Cardstock. Again, I used the Rich Cocoa Ink Pad to ink the edges of the cardstock pieces. My photo mats are (1) 3-3/4″ x 4-1/2″ and (2) 5-1/4″ x 3-3/4″. The journaling piece are 3-3/4″ x 3/4″.

Please click below to download a printable instructional handout.


It’s time to register for my Virtual Croptoberfest Workshop!

For the workshop, I’ll share printable instructions and recorded videos to create several of my own exclusive Croptoberfest layouts. There are (4) double-page layouts, (1) Bonus double-page layout and (1) Bonus single-page layout. I’ll also host sessions on Zoom on September 26th and 27th to view my instructional videos together. You’ll be able to crop along and ask questions. Below is a look at the Bonus Single-Page Layout that I created.

Please register now so you’ll have plenty of time to order your supplies! For a Supply List and complete information, please see my registration form.

Happy Scrapping!
Karyn

Another Punched & Folded Border Layout

Have you seen my Technique Layout & Challenge for August yet? Have you given it a try? Well, here’s another version to inspire you. Instead of using one border punch, I used two different border punches for this twist on the technique. (To see my original layouts and post, just scroll down to my post from August 13th.)

To create my layout above, I punched a strip of double-sided tonal paper with the Whale Tail Border Punch and the (retired) Alpine Mountains Border Punch and folded the whale tail end up. I used papers and stickers from the Pacific Scenes Bundle, Bright White Cardstock and Navy Cardstock. The Pacific Scenes Bundle sold out quickly with Creative Memories, but I have a few bundles in my personal inventory. Please contact me if you are interested.

To see a demonstration of how to create this layout, please view my video at https://youtu.be/MgqC5frjPCQ.

To purchase the Whale Tail Border Punch and other Creative Memories products, please see my website link at www.creativememories.com/user/karyn. On Monday, CM launched its new fall collection, new coordinating tools, Croptoberfest items and a new bundle of inks, brushes, and a fall stencil.


Registration is now open for my September 26th & 27th Virtual Croptoberfest Workshop. I’ll be sharing layout instructions for my own exclusive Croptoberfest Layouts. There will be printable handouts, recorded video instructions, creating sessions on Zoom and a private Facebook for sharing.

For Info and To Register: https://forms.gle/tHhw8xPpEzAU4Via8

To create my exclusive layouts, you’ll need the Croptoberfest Project Bundle, the Croptoberfest Project Receipt Kit, Chrysanthemum Punch, Leafy Vine Border Punch and several sheets of Bright White Cardstock all from Creative Memories. I’m putting the finishing touches on my layouts now and will share a complete Supply List soon.

Don’t forget that Creative Memories is offering FREE SHIPPING on orders of $100US until noon CT on September 5th.

Happy Scrapping!
Karyn

Punched & Folded Scrapbook Border

I focused on the border punches from Creative Memories for my August Technique Layout & Challenge. This technique will work with border punches that punch on the edge of paper or cardstock or knockout a design from the paper or cardstock. This technique will not work for a chain style border punch.

With this quick and easy technique, you only need to punch both ends of a strip of tonal paper and fold! Make sure to select a paper that has a different color tonal design on each side and use the 12-Inch Trimmer with the Scoring Blade to get a nice fold. The size of your strip will depend upon the border punch that you use. For my example above, I used the (retired) Bubble Scallop Border Punch with the Sun-Soaked Collection and my strip was 12″ x 4″.

For my layout above, I used the Noteworthy Days Collection, Floral Essential Embellishments and the (retired) Scalloped Crochet Border Punch. My strip for this border was larger at 12″ x 4-3/4″.

Please view my video to see a step-by-step demonstration of creating my first layout.

For a printable instructional handout, please click below to download.


Make sure to check back in a week or two when I’ll share another variation of this technique! You can check out all of the new items from Creative Memories and place an order using my website link. With your purchase, you’ll be enrolled in my own Customer Rewards Program.

Happy Scrapping!
Karyn

Postage Stamp Scrapbook Layout

Did you know that Creative Memories offers 8 different decorative blades for its 12-Inch Trimmer? With these unique blades, you can cut a variety of decorative edges. For my Technique Layout & Challenge this month, I challenged myself to use a blade that I don’t use very often – the Stamping Blade. With the 12-Inch Trimmer and Stamping Blade, I created decorative postage stamp embellishments that I used as border pieces on my layout.

Scrapbook layout featuring scenic design elements, decorative postage stamp embellishments, and empty photo slots for customization. Includes a sign reading 'Putting on the Miles' and another sign asking 'Are we there yet?'.

I used paper, stickers and embellishments from the Hit the Road Collection for my page. By cutting apart a sheet of paper with the large scenic design, I was able to preserve the important elements of the paper while also making room for 3 larger photos and journaling. I love how the Stamping Blade added a fun graphic element that created more interest and texture.

Please watch my video for step-by-step instructions and also suggestions on using other types of papers and Trimmer Blades.

A scrapbook layout featuring decorative elements like a vintage-style sign that reads 'Putting on the MILES' alongside images of a winding road and scenic mountains. The layout includes space for journaling and several photo slots.

Please click below to download a printable instructional handout.


The materials and tools that I used are available for purchase through my Creative Memories website link at www.creativememories.com/user/karyn. With your purchase, you’ll be enrolled in my Customer Rewards Program to receive bonus gifts from me! Creative Memories is currently offering a free gift with a $150 purchase. There are 3 great gifts available for you to select! Check out the CM website for more details!


Graphic promoting the 'PJ Party Virtual Crop' event on July 25, 2025, featuring names of participating designers and a colorful background with illustrations of diverse characters.

It’s time to register for Creative Life Scrapbooking’s July 25th PJ Party Virtual Crop! I’ll be sharing one of the 7 layouts for this event and teaching how to create the layout during our Zoom session. For each of the 7 layouts, you’ll learn a special technique. And we design the layouts to be versatile so you can use your stash without purchasing special supplies. The layouts are all double-page and have room for multiple photos.

Our special guest designer for this PJ Party is the very talented, Kylie Kingham. For more information about the virtual crop and to register, please see the Creative Life Scrapbooking website at www.creativelifescrapbooking.com.

Happy Scrapping!
Karyn

Hollow Frame Mosaic Scrapbook Layout

Do you love Creative Memories Custom Cutting System? It’s one of CM’s most beloved tools! Today, I’m sharing a technique that you can use with the Custom Cutting System to cut hollow shapes that you arrange to create a mosaic style layout. If you would like 6 more unique ideas for the Custom Cutting System, please consider joining me and two of my designer friends for our Crop Class: Custom Cutting System Edition. Please see the end of this blog post for more info about the class.

For my layout above, I used the Custom Cutting System with the Rectangle Cutting Patterns to cut hollow shapes in a variety of sizes. You could also use any of the other Cutting Patterns to create a similar layout. I arranged the hollow frames into an inter-locking pattern to create an interesting design. I thought that this technique worked well with the new Hit the Road Collection from Creative Memories. The mosaic pattern reminds me of an interwoven highway system in a large city.

I used the leftover solid shapes to create a second layout that is oriented horizontally. You’ll notice that my first layout is oriented vertically. I used the retired Road Signs Mini Trio Punch Set to punch some embellishments for both pages and also added stickers and embellishments from the Hit the Road Collection.

To purchase the tools and materials that I used, please shop with me at: https://www.creativememories.com/user/karyn.

For an instructional demo, please view my video at https://youtu.be/FxlBj2RoBLE.

For printable instructions, please click below.


Above is a peek at the 6 unique layouts that you’ll receive instructions to create by registering for Crop Class: Custom Cutting System Edition. We share layouts that feature the Circle, Oval, Rectangle, Gemstone and Jumbo Circle Patterns for CM’s Custom Cutting System.

For more information and to register, please click here: https://www.thecreativechatterbox.com/shop.

Thanks so much for visiting with me today!

Karyn